Creating Folders and Entries
 
Section 3.1: Creating Folders and Entries
When you are logged in and you have the access to create a new folder or entry under the folder that you are viewing there will be a set of links under the File section of the popup menu .
images/filemenu.png
If you just want to make a simple Folder or upload a File then choose the "New Folder" or "New File" menu item.

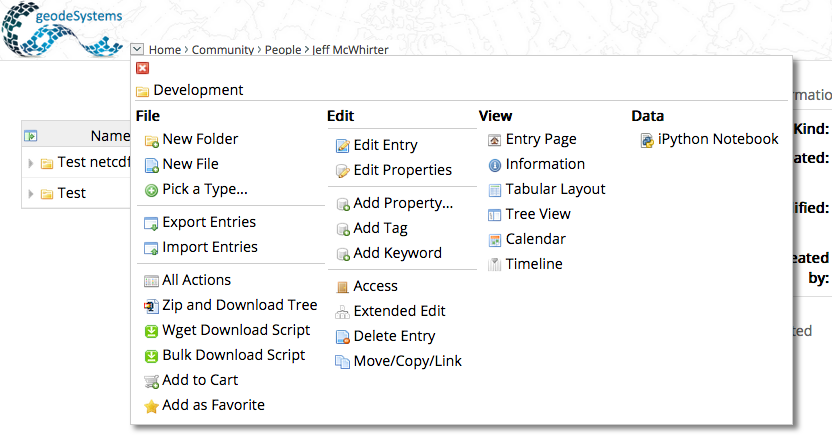
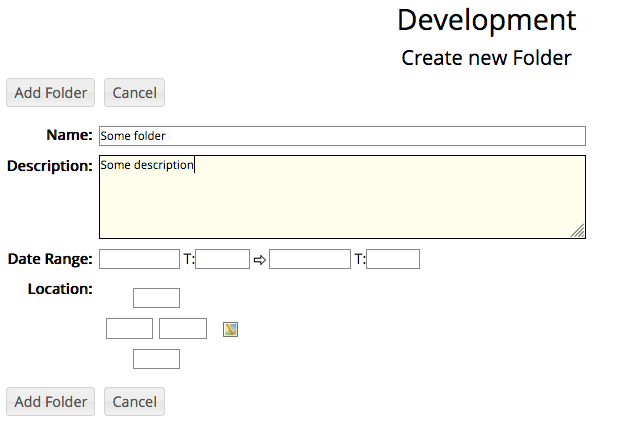
Selecting the "Create a folder" link will take you to the create folder form:

images/newfolder.png
Enter a name and an optional description, date range and lat/lon bounding box.

To upload a file to a RAMADDA repository you create a new Entry. From the File menu select "New File". The Create Entry form allows you to upload a file or specify a URL. If you are a site administrator you can also specify a path to a file on the server machine.
images/newfile.png
The minimal you need to enter here is the file or URL. The other fields are optional. If you do not enter a name then the file name is used.

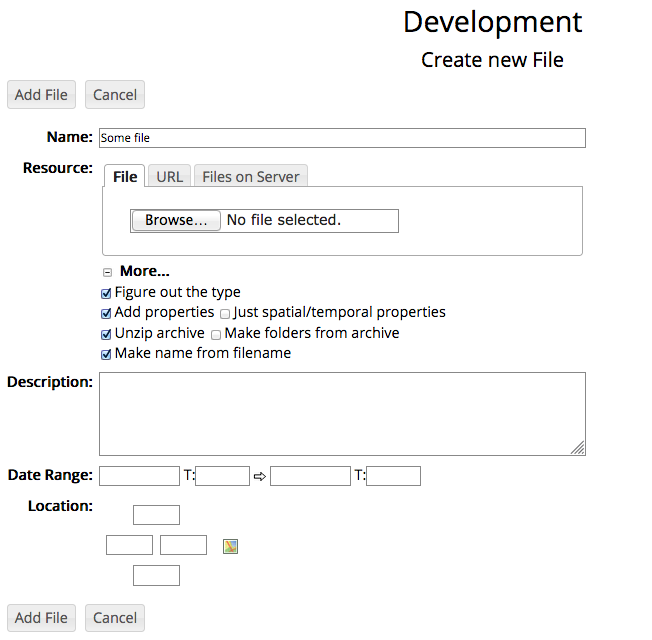
If you have a number of files that you want to upload you can make a .zip file of them on your machine and check on the " Unzip Archive" button.

If you are uploading a netcdf file (or another data type that can be opened, e.g., grib, radar, area file, etc) checking "Add Properties" will have RAMADDA crack open the file and harvest the time range, lat/lon bounding box, global attributes and variables and add them as a property of this Entry. See the section on properties for more information.

The "Data Type" is an optional and arbitrary data type that can be used to search for entries of this type.

The "Date Pattern" can be used to match on the file name to automatically figure out the date of this entry.

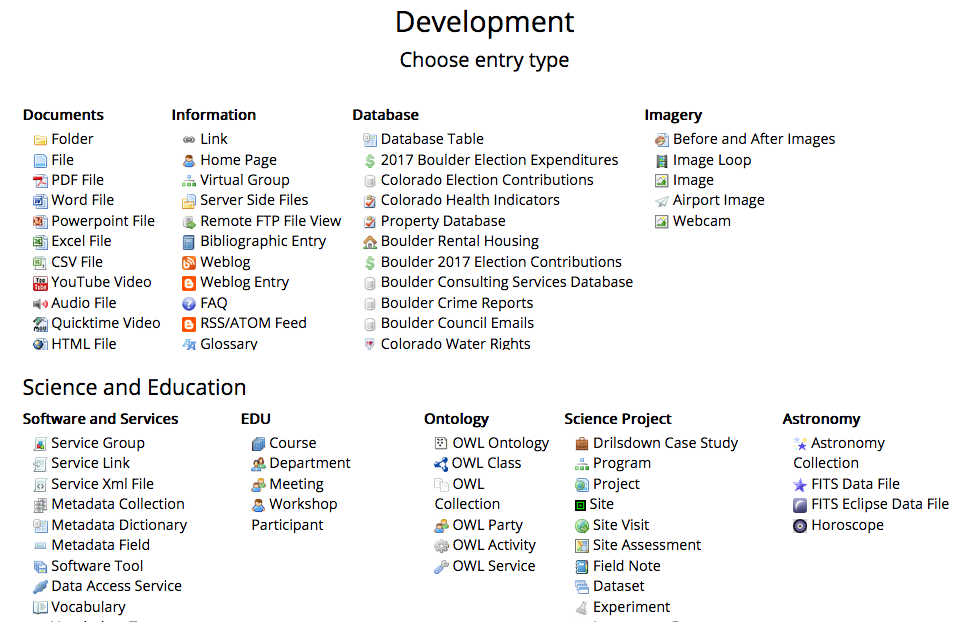
RAMADDA offers a number of different entry types that can also be created. Choosing "New Entry" menu link takes you to a rather daunting page that lists all of the available entry types.
images/entrylist.png
Fear not though, once you select an entry type then there will be a short-cut in the File menu.