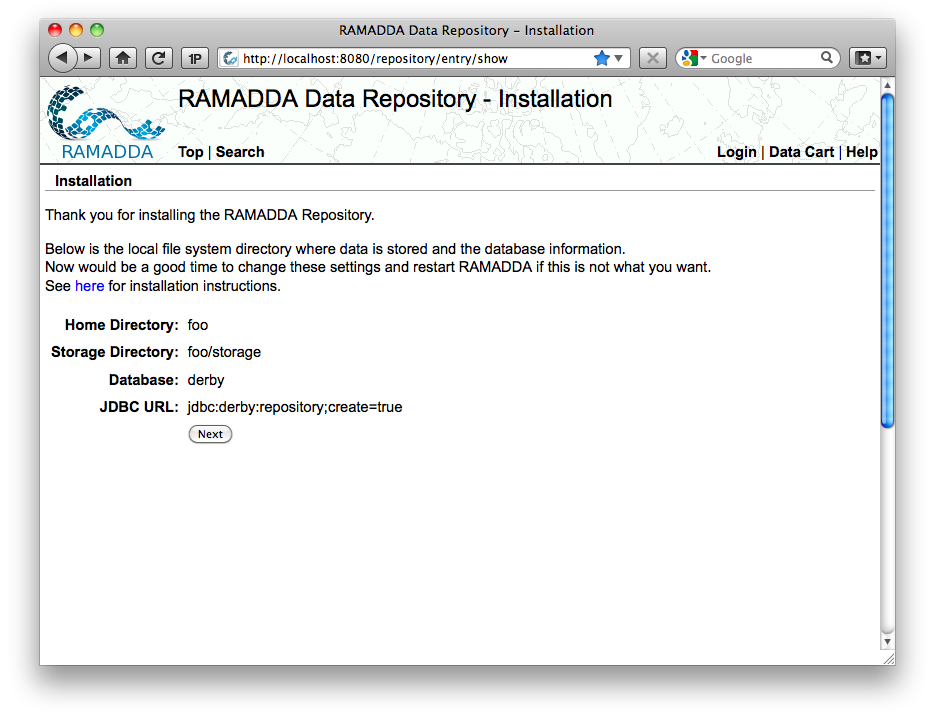
The first installation screen shows where on your server file system
RAMADDA will store its data and what database it is using.
If you want to change any of these settings the
installation help.
For the workshop we will just use the default settings so press
"Next"
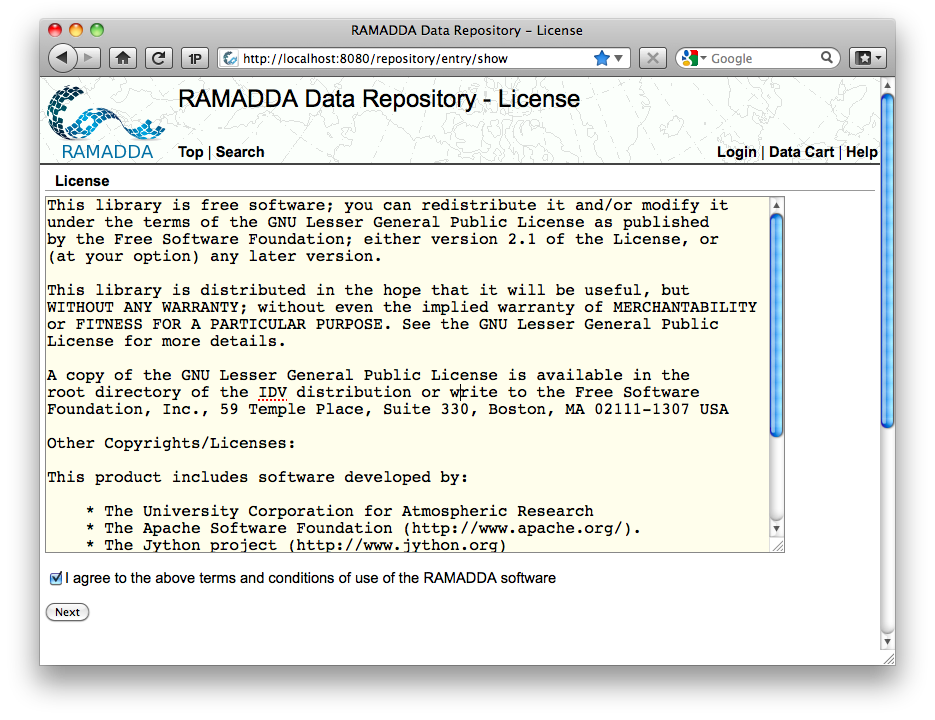
RAMADDA is provided under the LGPL license and makes use of a number
of external libraries. Select the checkbox and press "Next"
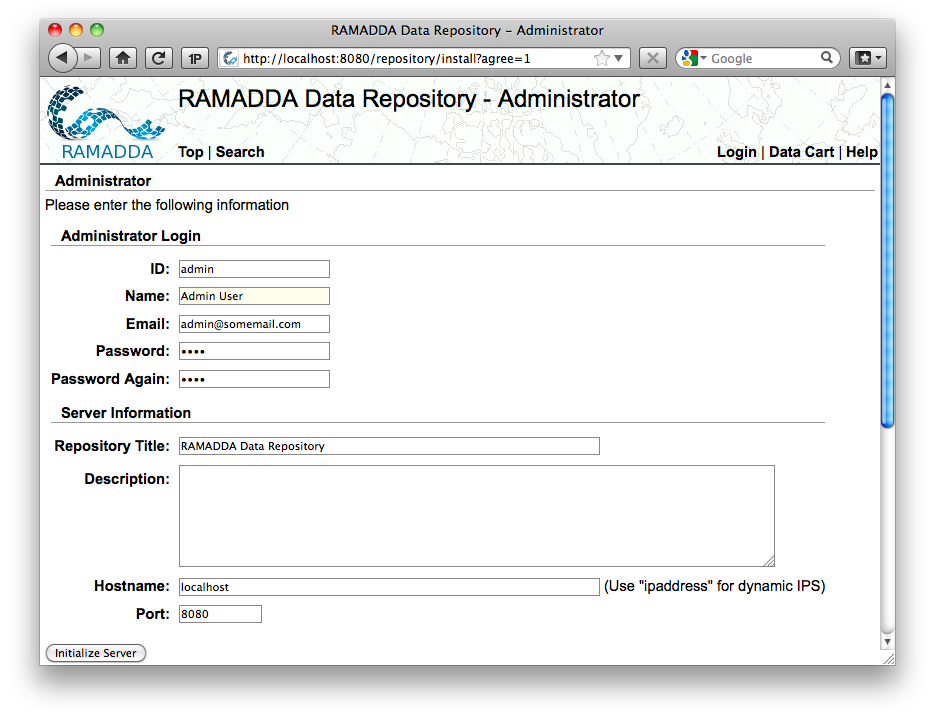
This is the "meat" of the installation.
For id enter:
admin
For name enter:
Administrator
You can skip email but enter some easily remembered password.
Note: If you are really installing RAMADDA on a production server select
a not so easy to guess password.
Under server information enter a new name for the repository and
check on the "All plugins" box.
This will install a collection of plugins to your RAMADDA server.
Note: If you forget to install the plugins we'll cover that in the next section.
Press "Initialize Server"
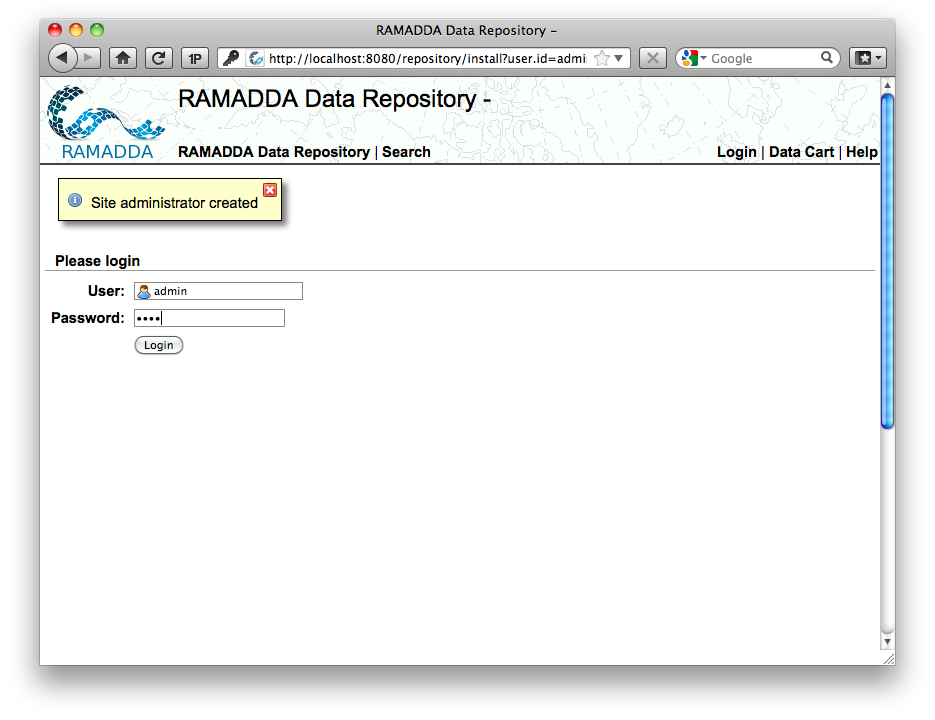
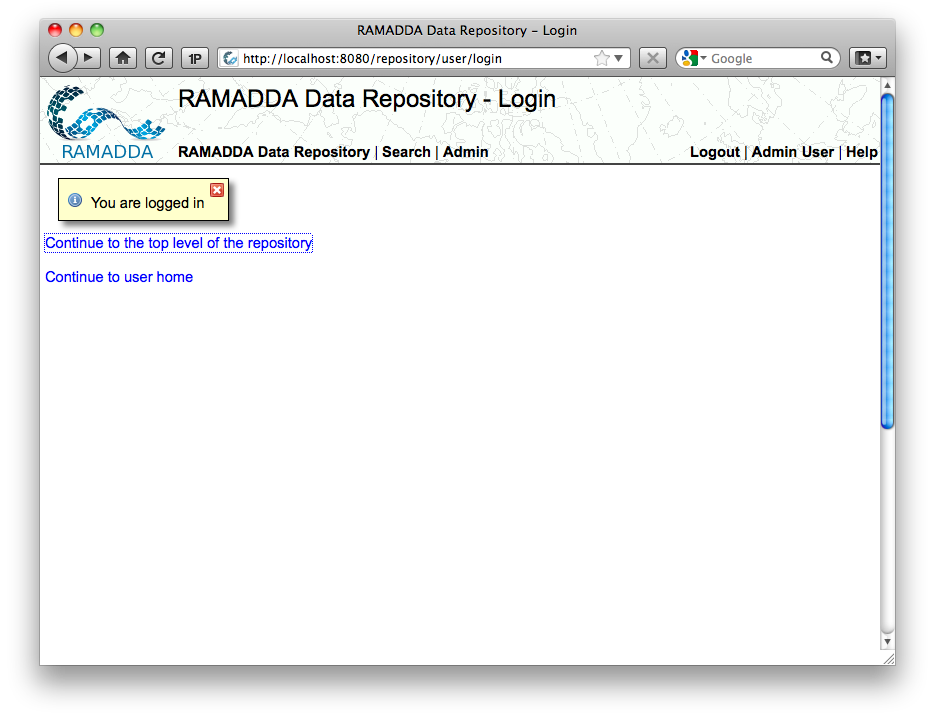
You are ready to go.
Login with the admin user and password you provided in the last screen.
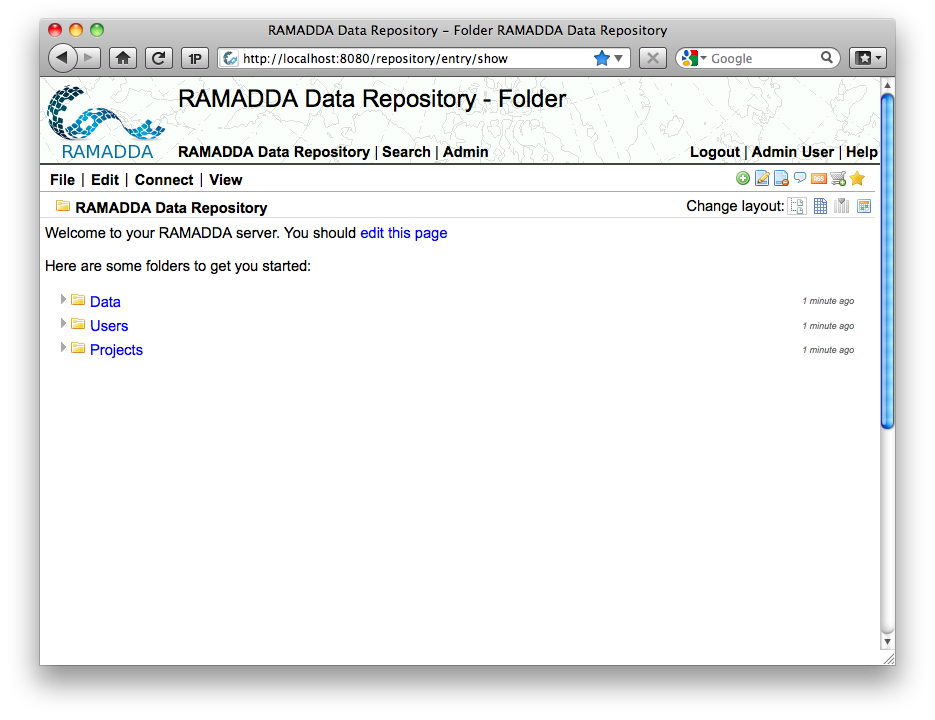
Once logged in continue to the top level directory: